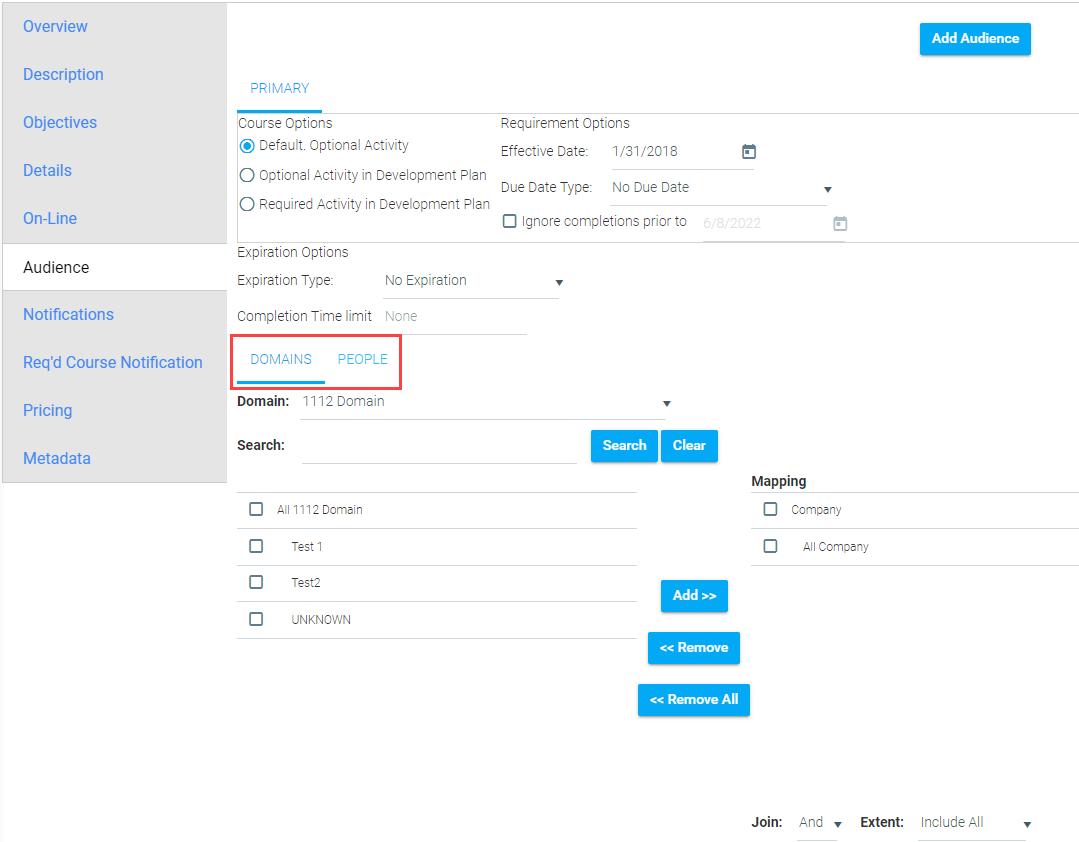
Within each audience under the Audience Tab there are two sub-tabs for defining the domains and adding individuals to an audience.
A domain is a type of data used to categorize users, such as "Job Title", "Business Unit", or "Manager/Not". On the Domain sub-tab, you can select all the domain categories that your audience consists of.
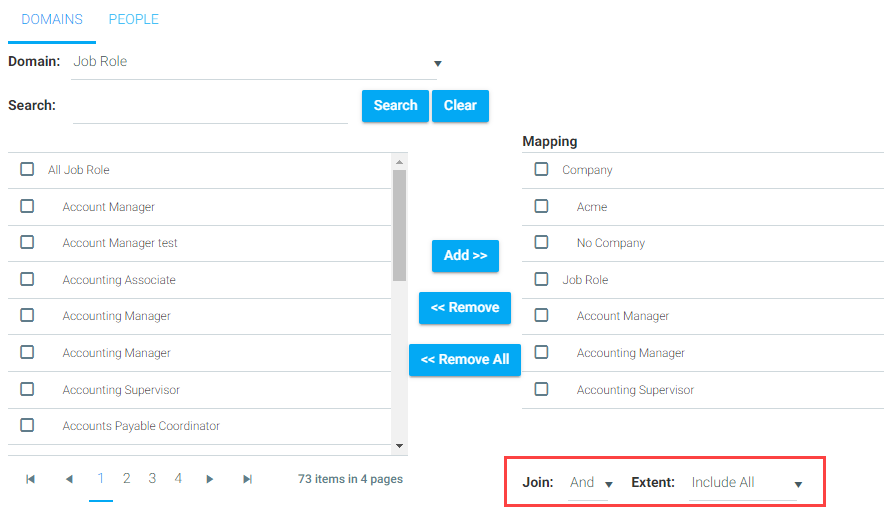
You can select domains using the Domain drop-down list, the Search field, or by browsing the full list of domains. When you have selected the domain(s) you want, click the Add button in the middle of the screen. The domain(s) you selected will appear in the right-hand Mapping panel.
Below the right-hand Mapping box are the options for how multiple domains should be joined together. You will need to select an option for both the Join and Extent fields.
The People tab can be used to add individual people to an audience that may not already be included in the domains you selected, or to exclude individuals within a domain you selected. The People Tab can also be used for all audience mapping, allowing an administrator to create a “hand-picked” audience that is not reliant on domains.
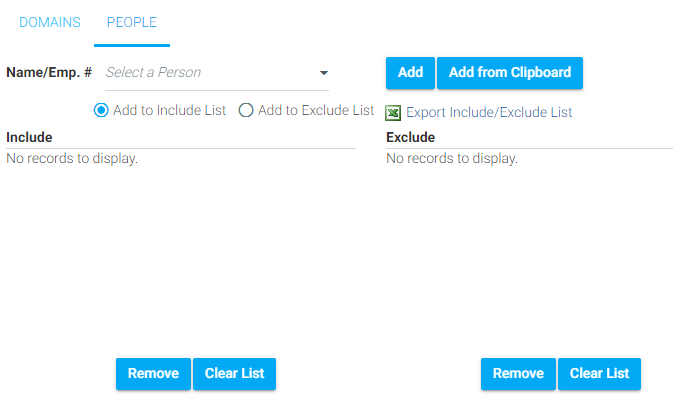
To add people, enter the person's last name or employee number. Their name will automatically appear in a drop-down, as you type. Select the correct name, and click the Add button. By default, the name will appear in the Include panel. To add a person to the Exclude list, select the Add to Exclude List radio button, before you click Add.
To remove names from the list, select the check box next to the name and click the Remove button, or click Clear List to start completely over.
You can also add users from a previously saved Excel or text file.
Click the Add From Clipboard button to call up a pop-up window.
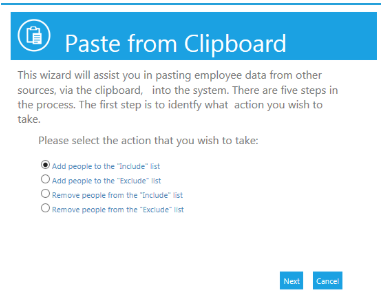
Select one of the following options:
Click Next to continue.
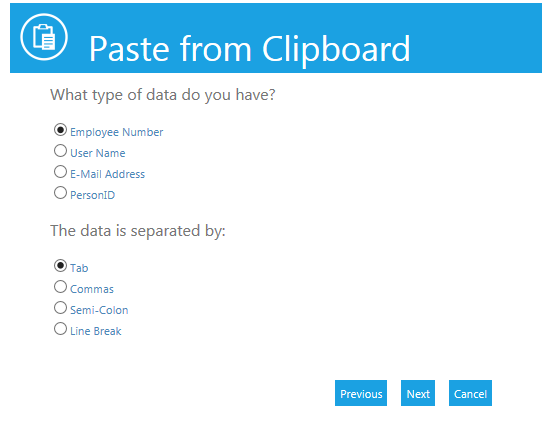
Select the type of data that will be used, and select what separates the data. If all of the data is in a column or row in Excel, leave it at the “Tab” default. Click Next to continue.
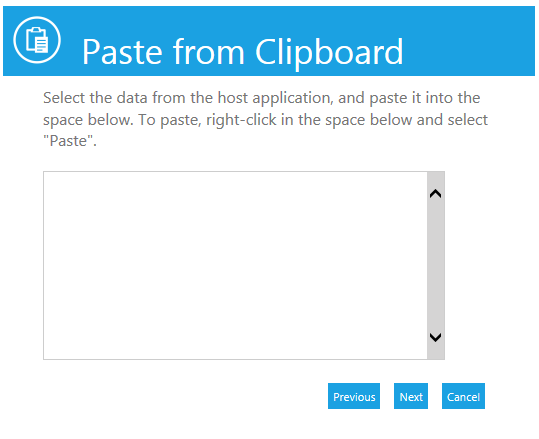
Paste the selected data onto the clipboard and click Next to continue.
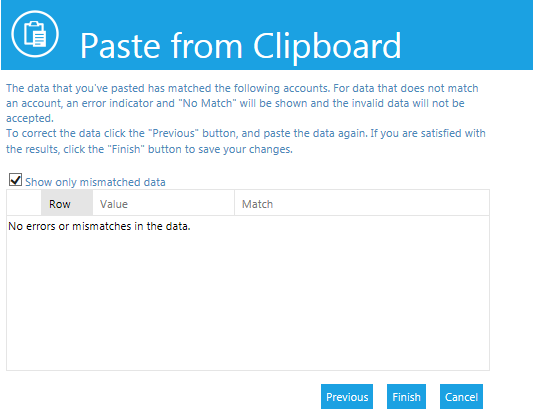
The system will alert you to any data that it could not read. If there are any errors, correct the data in your source document, then click the Previous button to repaste the information. When all information is correct, click the Finish button.
The names that you pasted on to the clipboard will now appear on the screen.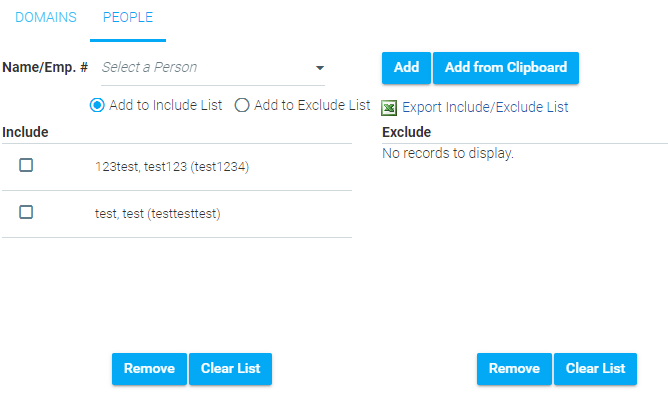
To learn more about audience mapping and management, select from the list below or from Help navigation.